The Urban Soundscape: Tackling Noise Pollution through Community Engagement and Technology
As urban populations continue to swell, with projections indicating that 68% of the global population will reside in cities by 2050, the issue of noise pollution becomes increasingly pressing. The cacophony of urban life is not merely a backdrop to daily activities; it is a significant environmental concern with profound implications for public health and well-being.
Noise pollution, often overshadowed by its more visible counterpart, air pollution, has been aptly termed the ‘forgotten pollutant.’ However, its impact on public health is anything but negligible. The European Environmental Agency has highlighted noise as one of the most harmful environmental exposures, contributing to a range of adverse health outcomes, from sleep disturbances and cognitive impairment to more severe conditions such as cardiovascular diseases.
The World Health Organization’s alarming statistics reveal that traffic-related noise results in the loss of over 1 million healthy life years annually in Western Europe alone, underscoring the urgency of addressing this pervasive issue. The economic repercussions are equally staggering, with the social cost of noise from road and rail transport in the EU estimated at around €40 billion per year.
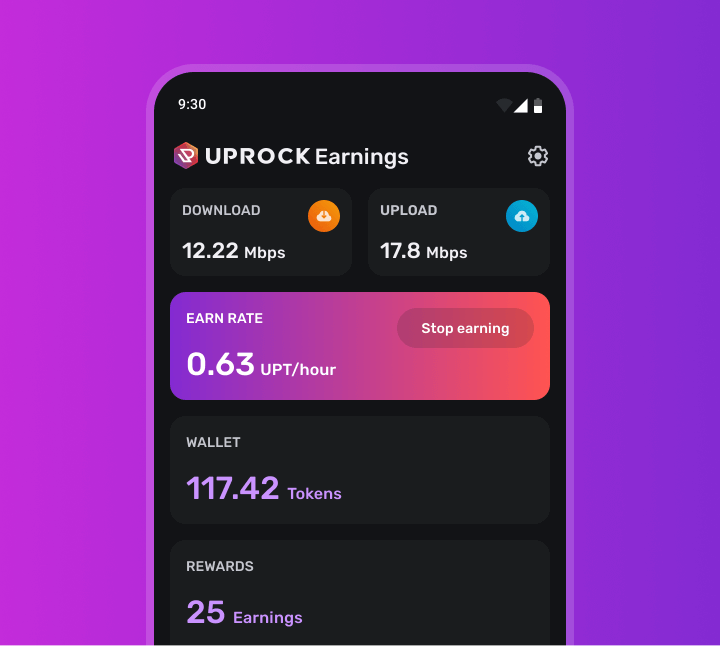
In response to this growing challenge, innovative solutions are emerging, harnessing the power of community engagement and technology. One such initiative is Silencio, a community-powered network that incentivizes users to contribute hyper-local noise pollution data. This platform exemplifies a shift towards citizen science, where individuals play an active role in data collection and environmental monitoring.
Silencio’s platform is a testament to the power of collective action. By incentivizing users with noise coins, the platform does more than just crowdsource data; it fosters a sense of ownership and responsibility among its participants. This gamified contribution system not only encourages widespread participation but also ensures that the data collected is hyper-local and precise, reflecting the true auditory landscape of urban environments.
The ingenuity of Silencio’s tokenomics model lies in its sustainability. It’s not merely a transactional system but a circular economy that rewards contributions to environmental well-being. Users are motivated to contribute to noise mapping because they directly benefit from the improvement in their living conditions and can redeem their noise coins for goods, services, and support of environmental initiatives.
Moreover, Silencio’s impact extends beyond individual users. By providing accurate, real-time noise data, the platform empowers governments, city planners, and industries with the information needed to devise effective noise control strategies. This data-driven approach has the potential to transform urban planning, leading to quieter, more serene cityscapes.
The user-friendly app is the gateway to Silencio’s ecosystem, designed to be accessible and intuitive. Through strategic partnerships, Silencio is expanding its reach, ensuring that its vision for noise pollution management resonates across borders. The platform’s global ambition is not just about scale; it’s about setting a new standard for environmental stewardship in urban settings.
As Silencio continues to grow, its mission remains clear: to combat noise pollution and cultivate sustainable, peaceful urban living. With its innovative platform, Silencio is not just addressing the challenges of today but paving the way for the harmonious cities of tomorrow.
Join the world’s biggest noise mapping network. 🌎 Take the first step to fighting Noise Pollution 🚫🔊while earning Noise Coins!
📲Download the app:
- 🍏iOS: https://apps.apple.com/us/app/silencionework/id6444363412
- 🤖Android: https://play.google.com/store/apps/details?id=com.quickkonnect.silencio
Use my username “tippy87” as your invitation code when signing up. 👥